Sharon Ram

Sharon Ram

Red Sea's Chief scientist

How to clean and adjust the REEFER downflow valve

REEFER Maintenance | How To


It is highly recommended to clean & adjust your REEFER downflow every few months. Here’s a step-by-step guide (also available as a video) on how to clean & adjust your REEFER aquarium downflow valve:


1. Switch off all the pumps in the system.


2. Once the main downflow pipe is clear of water, remove the 4 rubber plugs from the corners of the valve.

reefer valve - remove the 4 rubber plugs

3. Unscrew the 4 screws with an Allen key. 

Unscrew the 4 screws

4. Pull the valve assembly away from the valve body. Be careful not to let the screws fall out.

Pull the valve assembly away

5. Use a tissue paper to it clean any biofilm build up on the sides of the valve.

Use a tissue paper
Use a tissue paper 2

Now reassemble the valve:

6. Place the valve assembly on the valve body, ensure all 4 screws are tightly screwed in.

reassemble the valve

7. Replace the 4 rubber plugs.

Replace the 4 rubber plugs

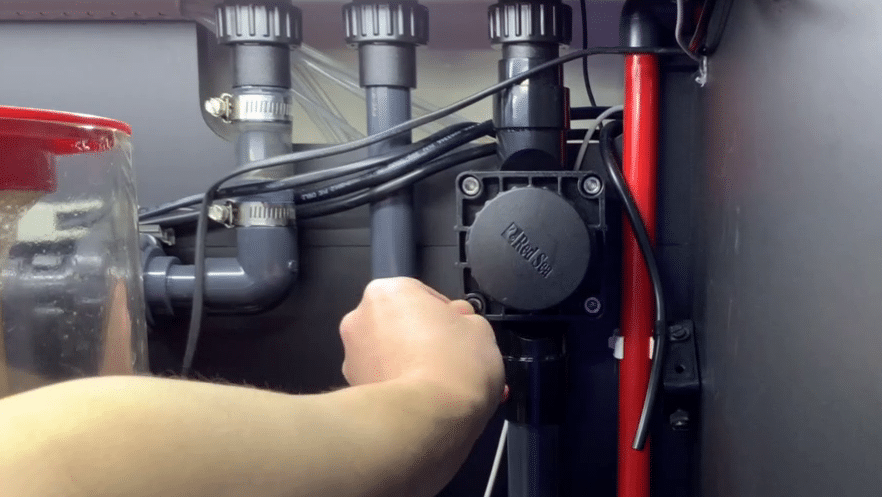
8. Turn on all pumps in the system.


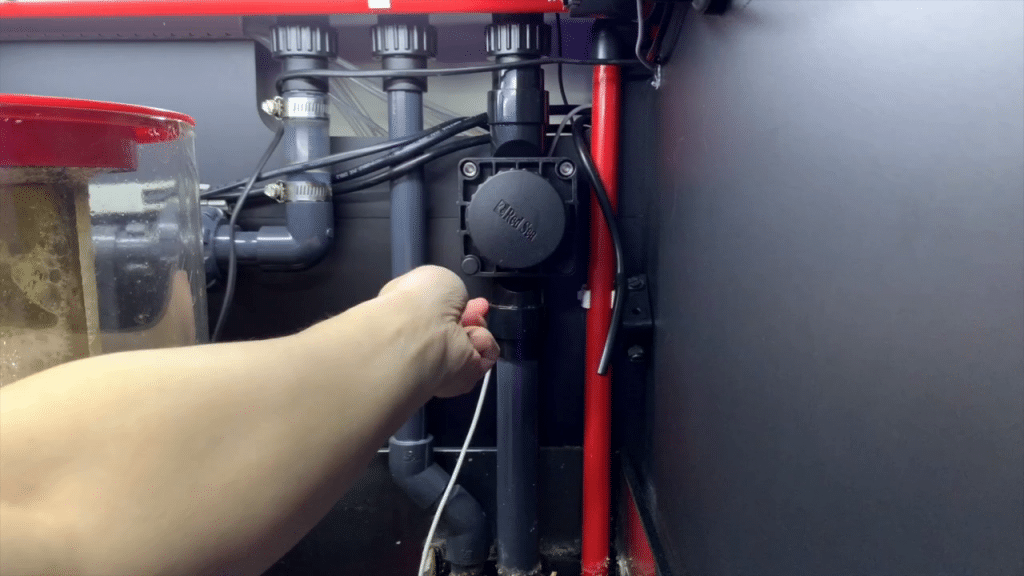
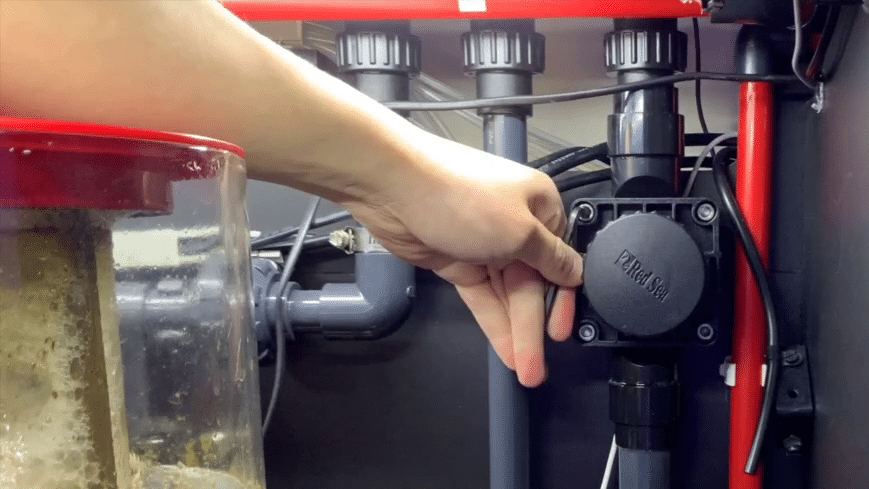
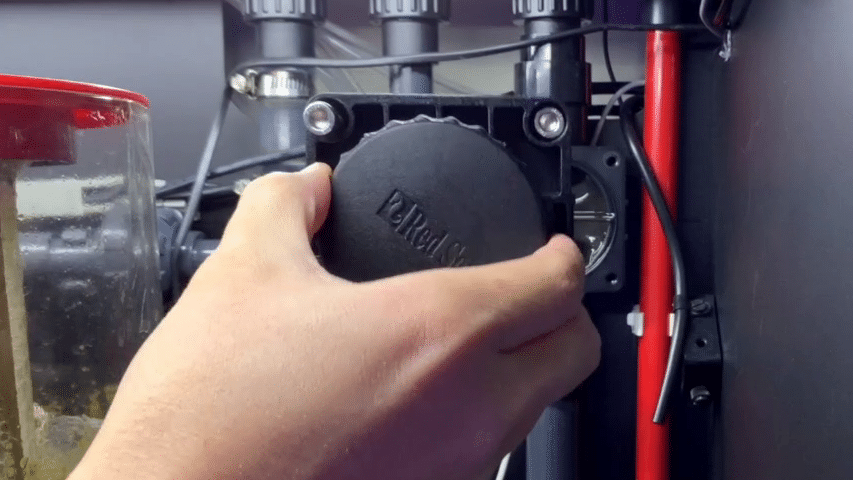
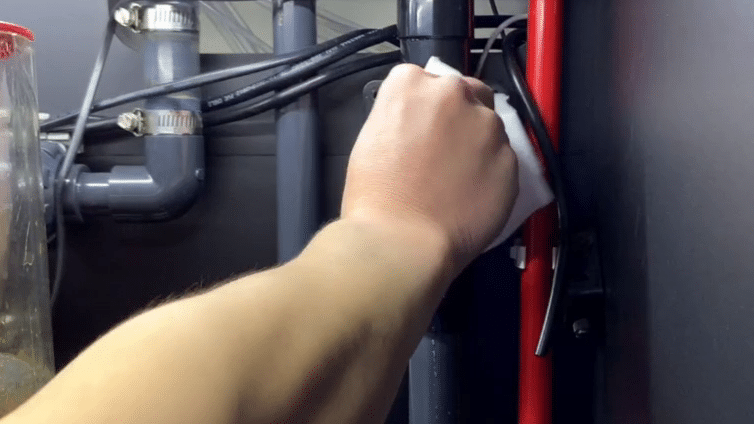
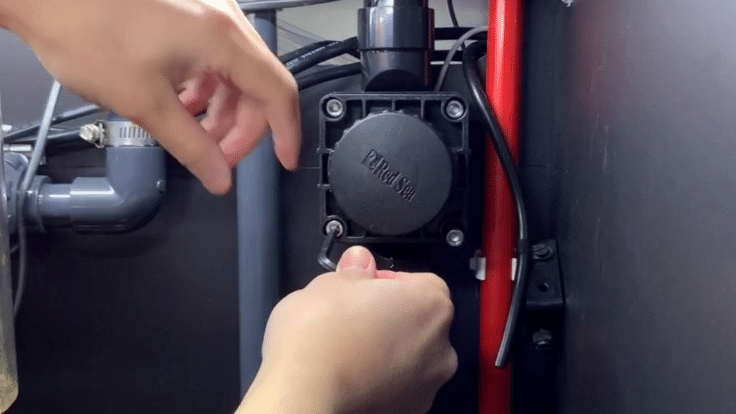
After the valve cleaning, you may need to readjust the valve. Please note, the flow valve provides a very fine control of the flow rate, therefore after making each adjustment it will take a few minutes for it to stabilize at the new setting. Try to set the water level in the overflow box about 1cm below the top of the emergency downpipe.


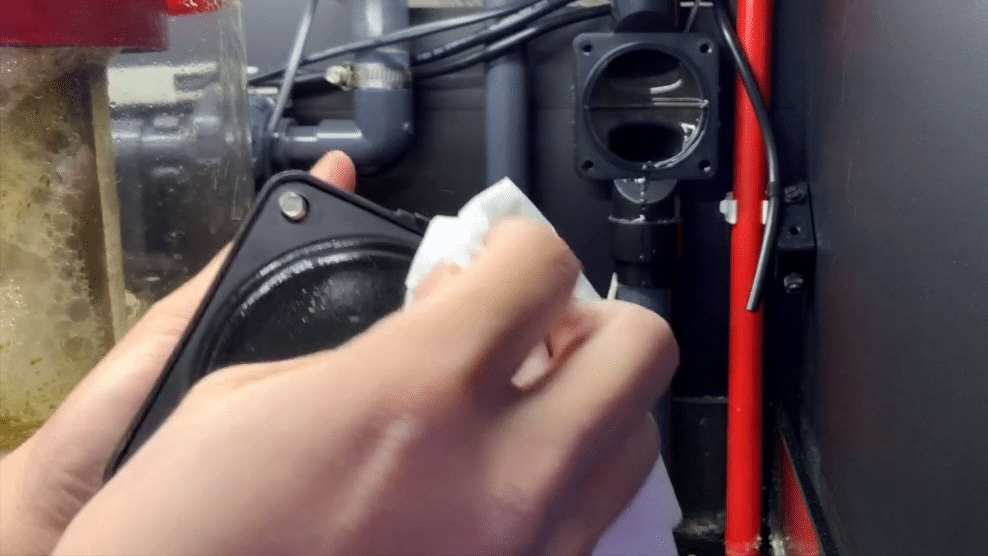
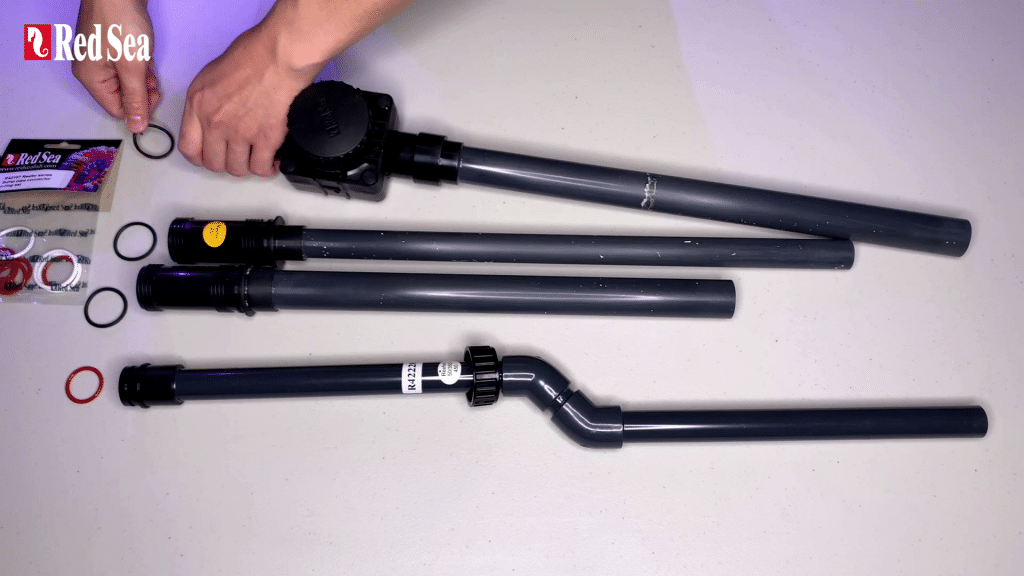
And there you have it! the REEFER downflow valve maintenance is now completed.

Watch the video presentation:

More to explore